Connect to Chaser using a spreadsheet via Zapier
This article explains how to get started with connecting to Chaser using Zapier, the data requirements and how to complete key actions using Zapier.
Last updated: January 01, 1970
|
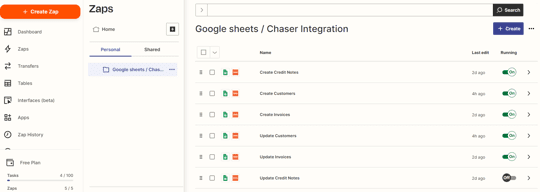
This integration is only available on Standard and Enterprise subscriptions. The Zapier integration is a suitable option for organizations that use a system that Chaser does not integrate with. The connection with Chaser can be established by following the instructions in this article. This section provides a step-by-step guide on setting up four essential Zaps and four optional Zaps in Zapier for effective integration with Chaser. Each set of instructions will clearly explain how to configure these Zaps to trigger the corresponding actions in Chaser.
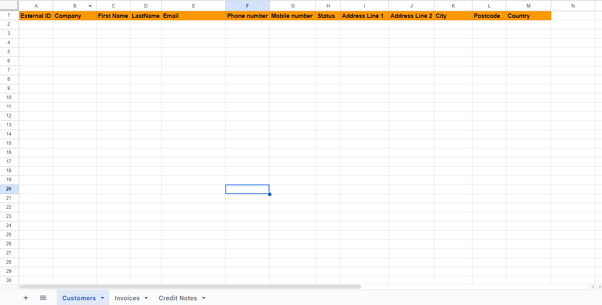
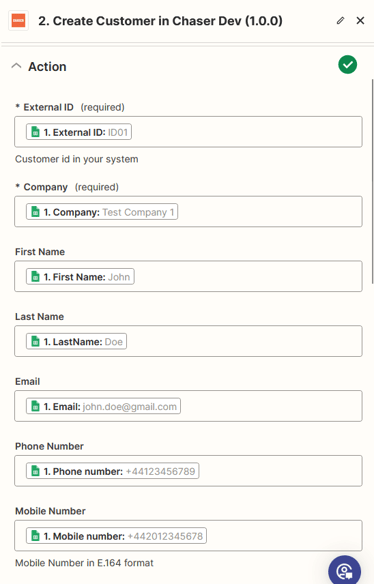
Data formatting requirements The following tables provide details on the data formatting requirements for customers, invoices and credit notes. Customers
Important note on phone numbers: When adding a country code '+' at the beginning of a phone number within a spreadsheet, some sheets will convert this to an equation, to avoid this, add a ' before the +. Invoices
Additional contacts
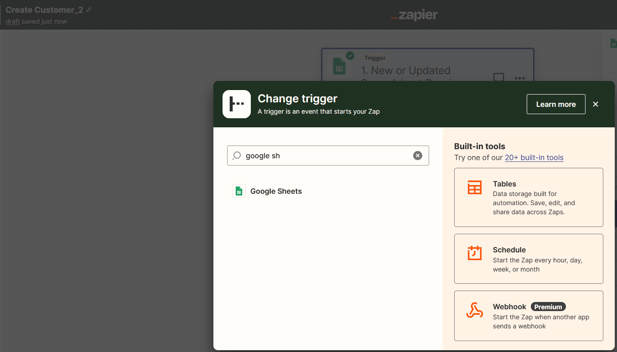
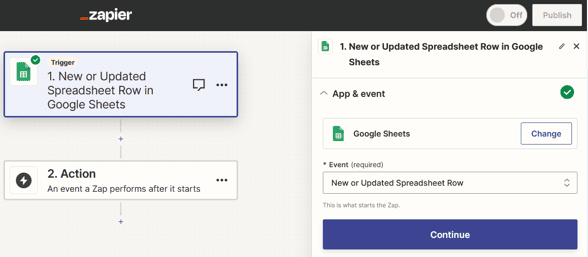
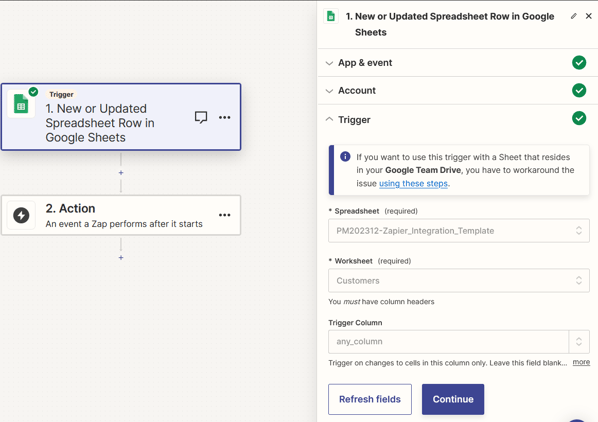
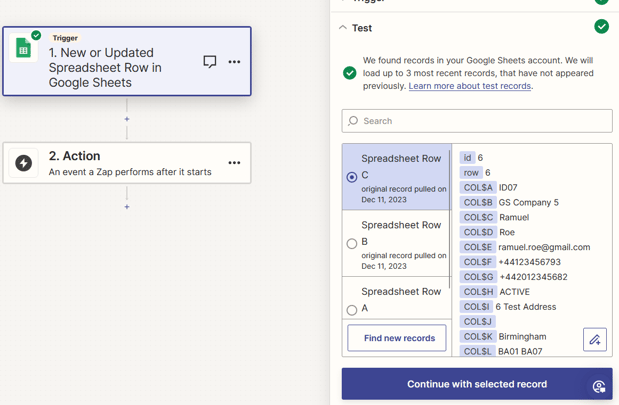
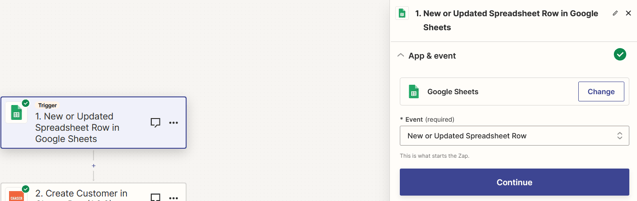
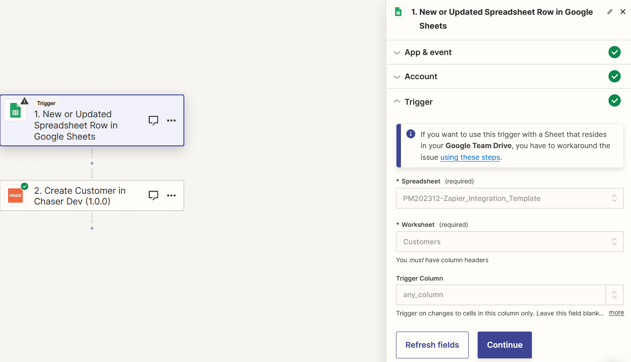
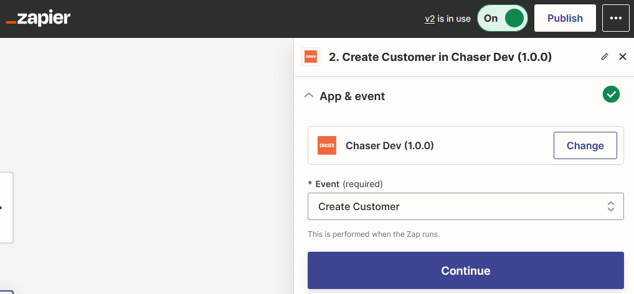
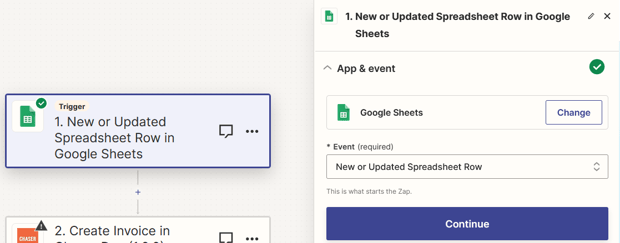
Zap 1 - Create customer (e.g: Google Sheets)
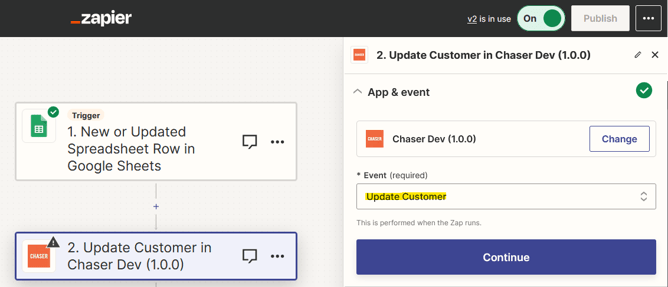
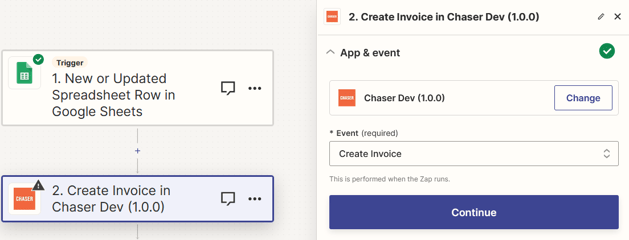
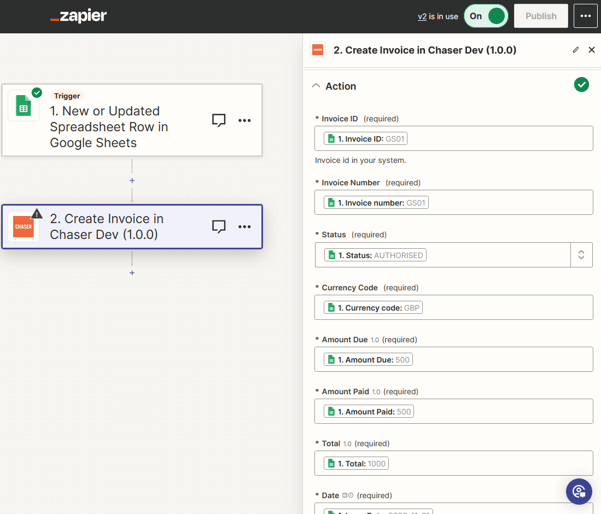
Zap 2 - Update customer (e.g: Google Sheets)The process for setting up a Zap to update customer information in Chaser is similar to creating a new customer. However, the crucial distinction is in the selection of the action event. For updating customer details, you'll need to choose the Update Customer event in the App & Event section of the Zap setup. This ensures that the Zap modifies existing customer data in Chaser instead of adding new customer records. Zap 3 - Create invoice (e.g: Google Sheets)
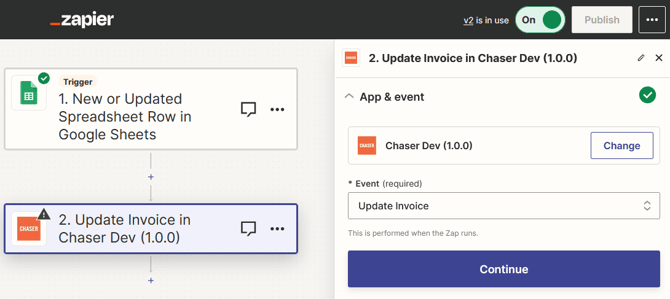
Zap 4 - Update invoice (e.g: Google Sheets)The process for setting up a Zap to update invoice information in Chaser is similar to creating a new invoice. However, the crucial distinction is in the selection of the action event. For updating invoice details, you'll need to choose the Update Invoices event in the App & Event section of the Zap setup. This ensures that the Zap modifies existing invoice data in Chaser instead of adding new invoice records. Note on updating invoices in the spreadsheet
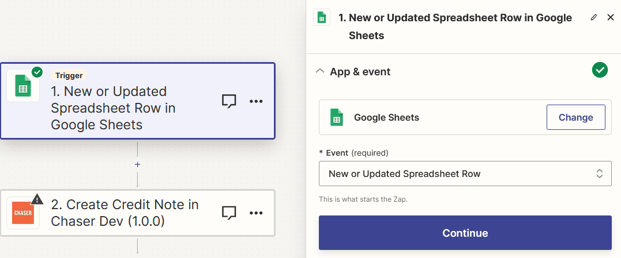
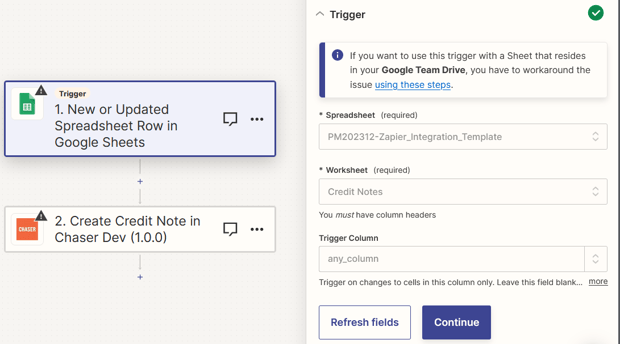
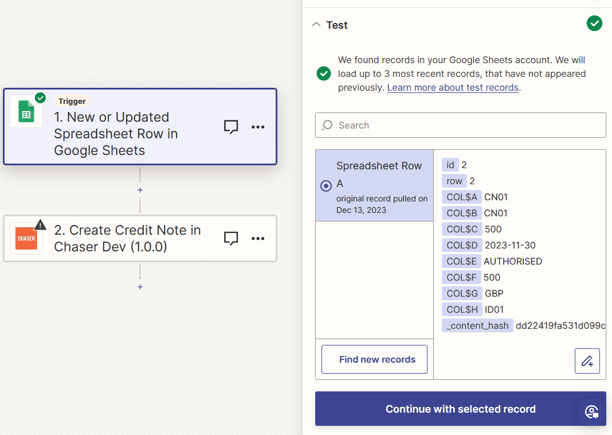
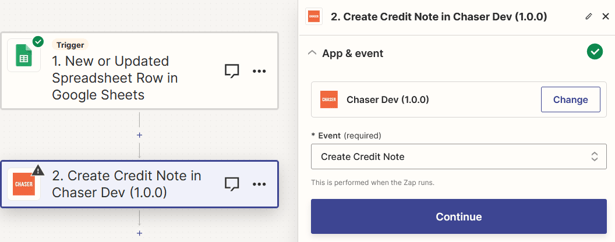
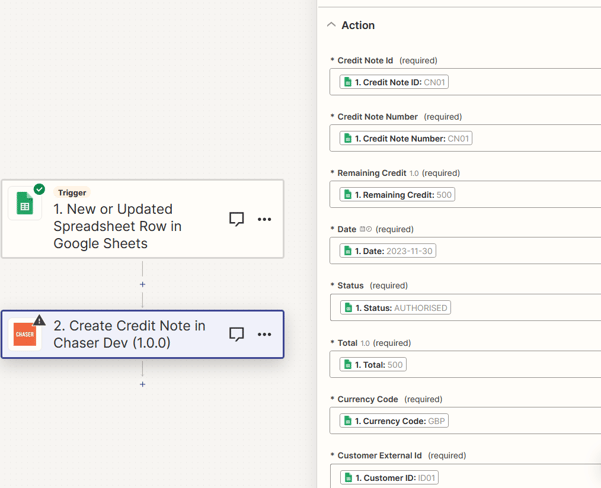
Zap 5 - Create credit notes (e.g: Google Sheets)
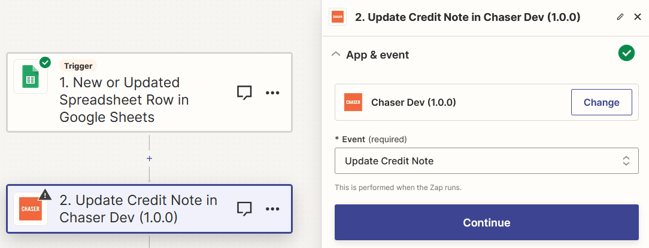
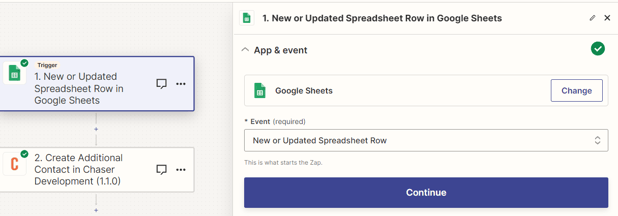
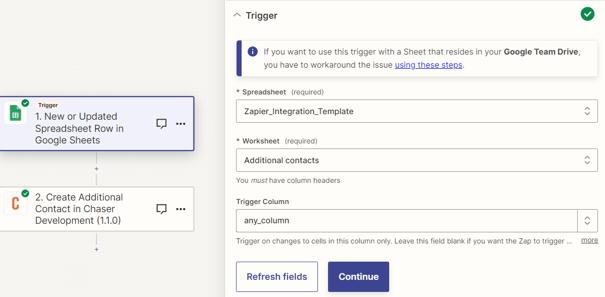
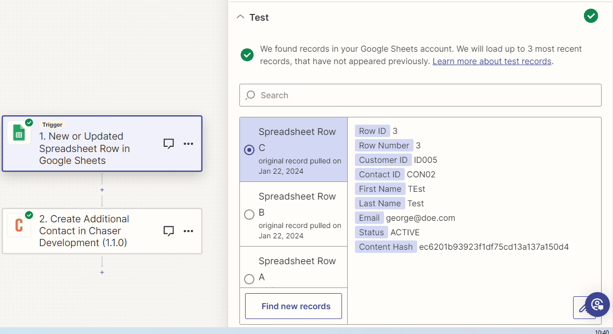
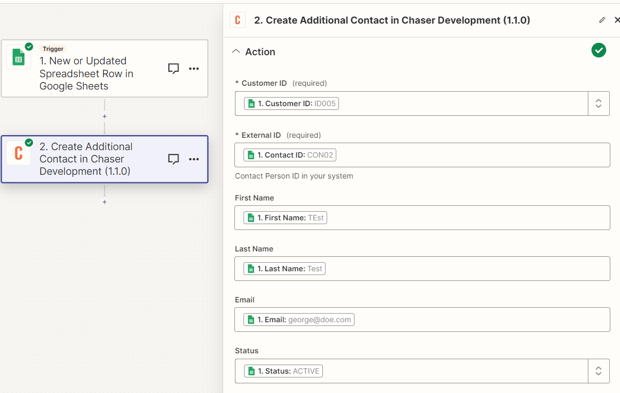
Zap 6 - Update credit notes (e.g: Google Sheets)The process for setting up a Zap to update credit note information in Chaser is similar to creating a new credit note. However, the crucial distinction is in the selection of the action event. For updating credit note details, you'll need to choose the "Update Credit Note" event in the "App & Event" section of the Zap setup. This ensures that the Zap modifies existing credit note data in Chaser instead of adding new credit note records. Zap 7 - Create Additional Contacts
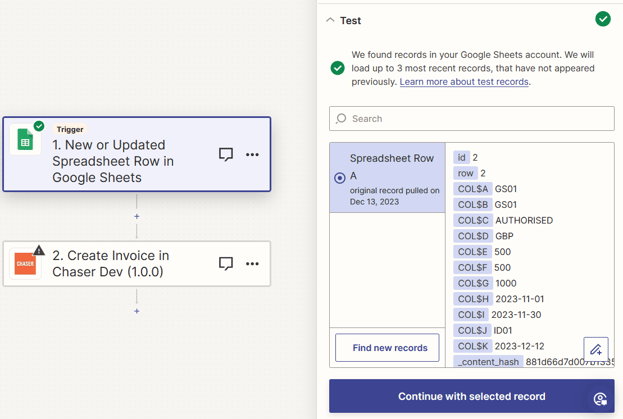
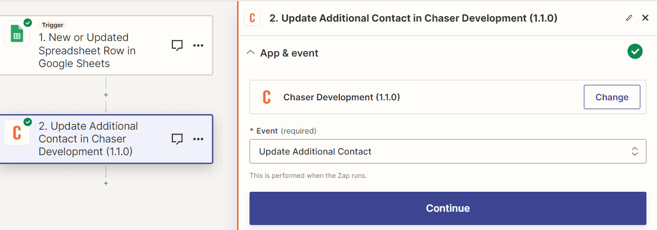
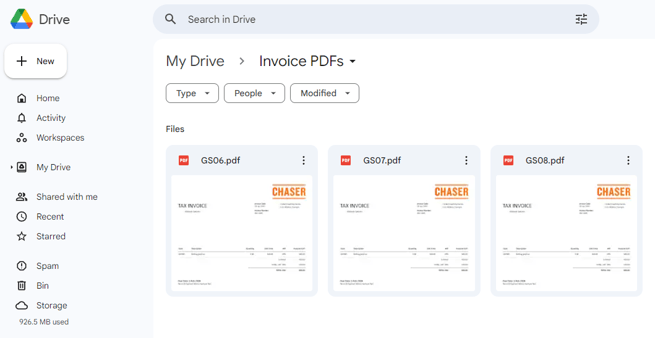
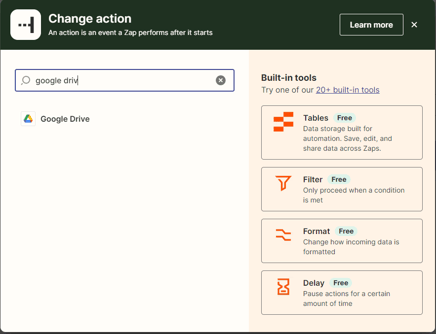
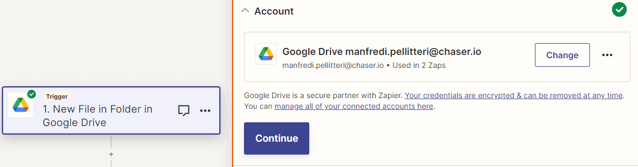
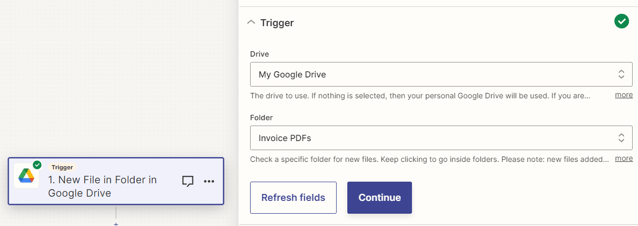
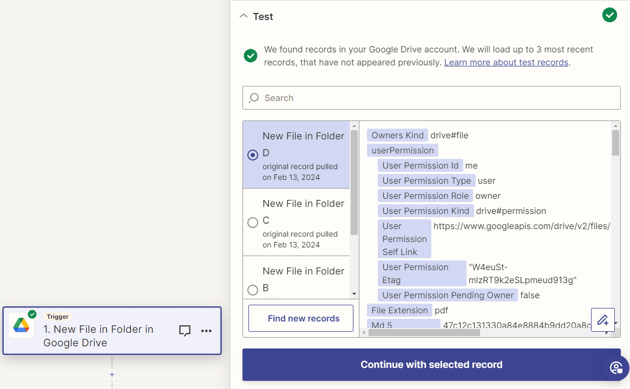
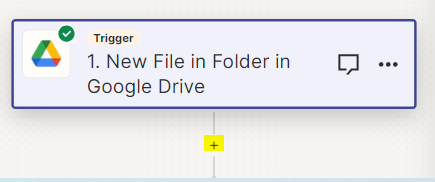
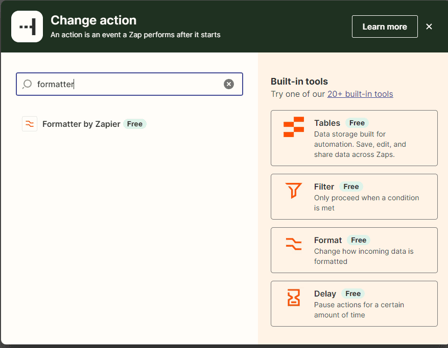
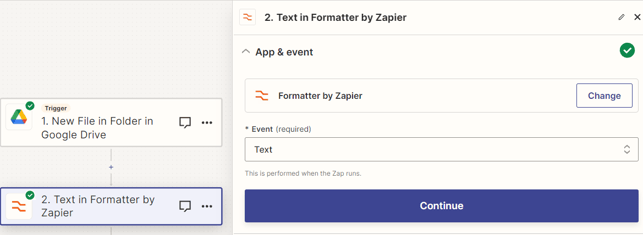
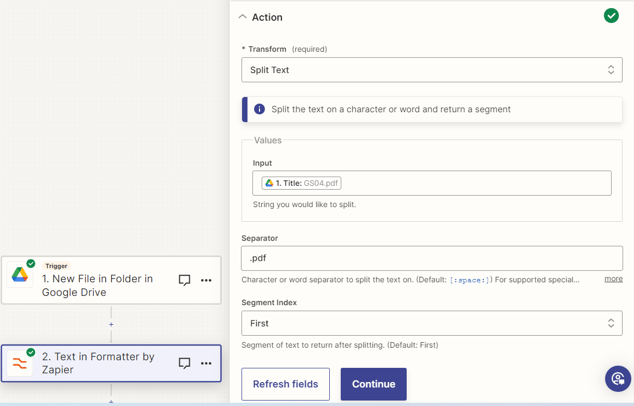
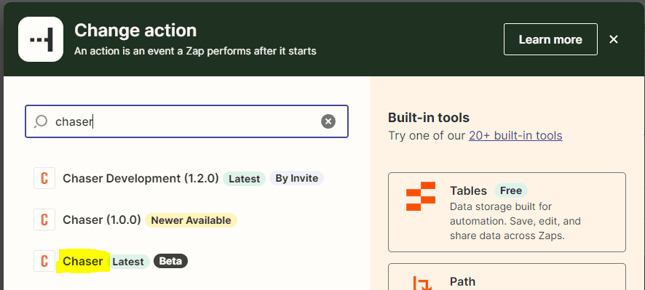
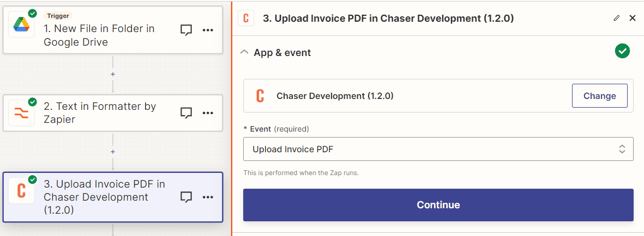
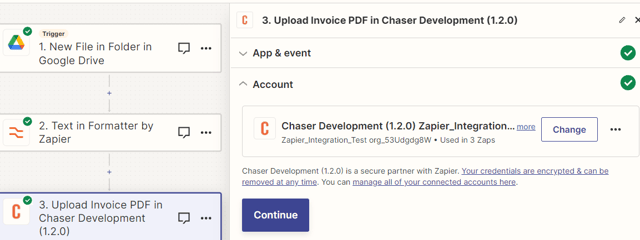
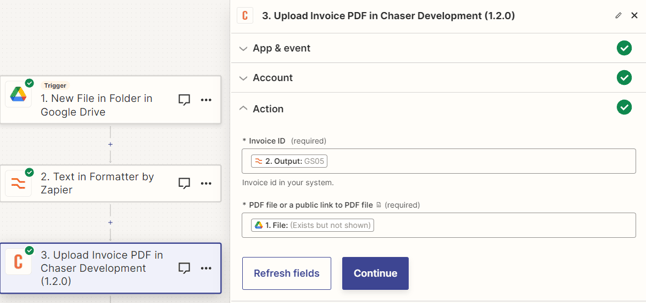
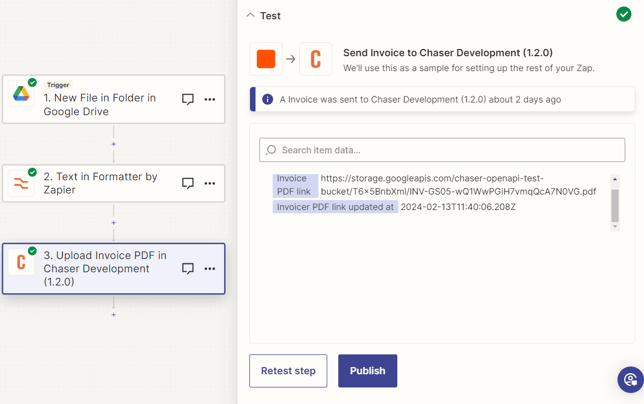
Testing and publishing the Zap: After configuring, click Continue to move to the test section. Zapier will test the configuration. If successful, you can publish your Zap by clicking the Publish button. Zap 8 - Update additional contacts (e.g: Google Sheets)The process for setting up a Zap to update additional contact information in Chaser is similar to creating additional contacts. However, the crucial distinction is in the selection of the action event. For updating/deleting additional contact details, you'll need to choose the Update Additional Contact event in the App & Event section of the Zap setup. This ensures that the Zap modifies existing additional contact data in Chaser instead of adding new additional contact records. Zap 9 - Upload invoice PDF (e.g: Google Drive)To upload a PDF invoice to Chaser, a multi-step Zap is required, which involves an additional third step in the Zap creation process. Note that multi-step Zaps are available only for premium Zapier users.
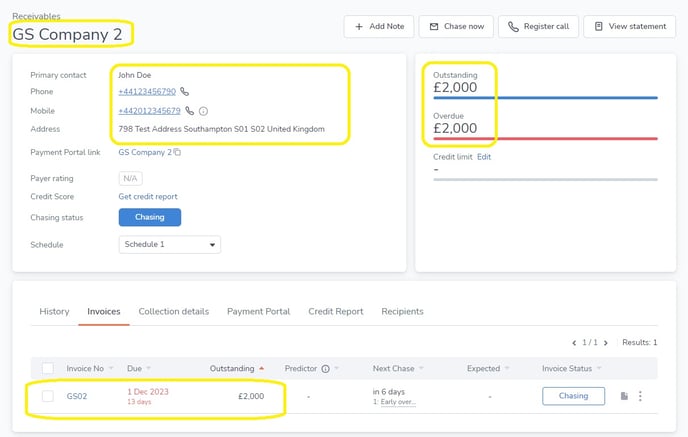
Transfer data to your Chaser organization
|